
Assembling a computer in parts can be an exciting and rewarding experience for anyone interested in technology. Although it may seem like a complicated process, it is not difficult if you follow a systematic approach. In this article, we will guide you through the steps necessary to build a computer in pieces.
Step 1: Choose the pieces
The first thing you should do is choose the parts you will need. This includes the motherboard, processor, RAM, graphics card, power supply, storage drive (hard drive or solid state drive), case, and any other accessories you want to add. Make sure all parts are compatible with each other and fit your budget.
Step 2: Prepare the workspace
Before you start assembling your computer, make sure you have enough work space and a flat surface. You should also have tools such as screwdrivers and pliers. It is important to work in a static-free location to avoid damaging components.
Step 3: Install the motherboard
Place the motherboard on a flat surface and make sure the mounting holes are aligned with the brackets on the case. Secure the motherboard in place with the mounting screws.
Step 4: Install the processor
Open the processor socket on the motherboard and place the processor in the correct position. Make sure the processor pins fit into the motherboard socket and close the latch to secure it. If the processor comes with a fan, install it on the motherboard.
Step 5: Install RAM
Insert the RAM memory modules into the corresponding sockets on the motherboard. Make sure they fit correctly and that the locking tabs close.
Step 6: Install the graphics card
Insert the graphics card into the PCI-Express slot on the motherboard. Make sure it is securely in place and connect the necessary power cables.
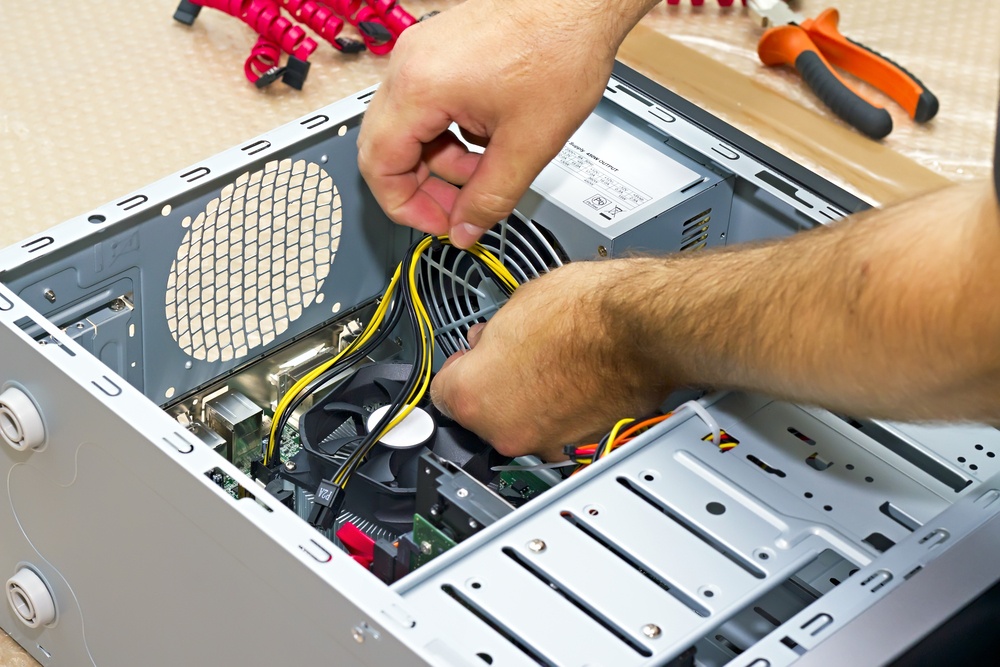
Step 7: Install the power supply
Place the power supply into the case and make sure it is secured in place. Connect the power cables to the motherboard, graphics card and any other component that requires it.
Step 8: Install the storage drive
Place the storage drive into the case and secure it in place with the screws. Connect the power and data cables to the motherboard and storage drive.
Step 9: Connect the cables
Connect the cables from the front panel of the case to the motherboard, including the cables for the power button, USB ports, and audio jacks.
Step 10: Turn on the computer
With everything correctly installed and connected, turn on the computer and verify that everything is working correctly. If there are any problems, check the components and connections.
In short, assembling a computer in parts may seem overwhelming at first, but by following these simple steps you can have your own personal computer.


