
Building your own PC may seem like a challenging task, but with the right guidance and a little patience, you can build a machine that perfectly suits your needs. In this complete guide, we will take you through all the necessary steps, from initial preparation to final optimization of your system.
Preparation before assembly
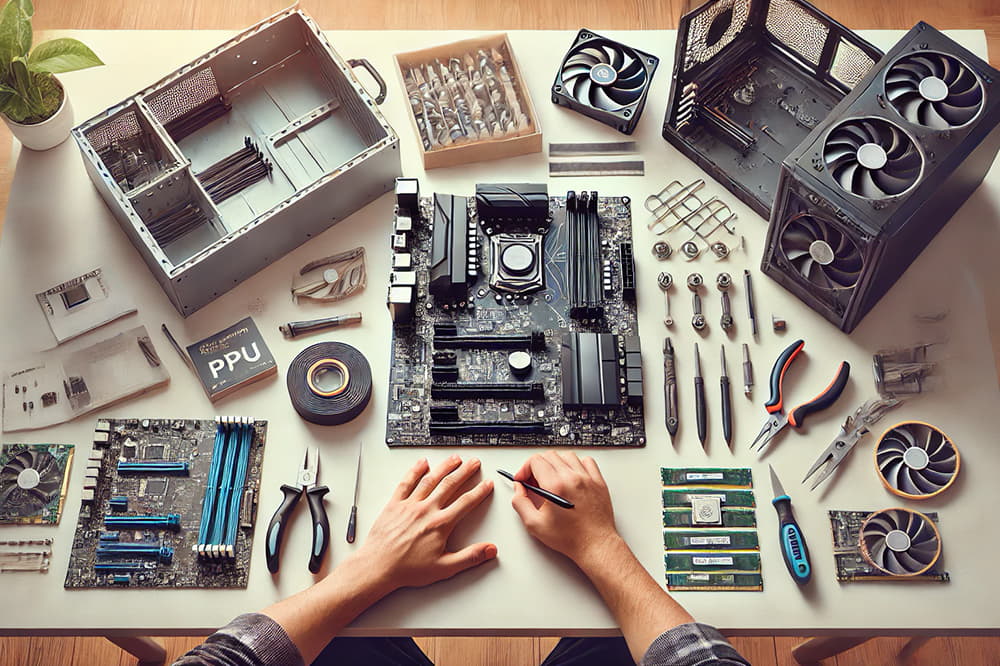
Before starting assembly, it is essential that you prepare properly. Having the right tools and selecting the right components are critical steps to ensuring a smooth construction process.
Necessary tools
To assemble your PC, you will need some basic tools:
- Star Screwdriver: Most components are secured with Phillips screws.
- Anti-static bracelet: To prevent damage to sensitive components due to static discharge.
- Tweezers: Useful for manipulating small screws and connectors.
- Cable Ties: To keep cables organized and improve airflow.
Component selection
Component selection is a crucial part of the construction process. Here is a list of the essential components you will need:
- Motherboard: Choose one that is compatible with your CPU and has the features you need.
- Processor (CPU): The “brain” of your PC. Make sure it is compatible with your motherboard.
- RAM Memory: Make sure you have enough memory for your needs (16GB is a good starting point for most users).
- Storage unit: NVMe SSD for the operating system and HDD for mass storage.
- Graphics card (GPU): Essential for gaming and high graphic performance tasks.
- Power supply (PSU): Make sure it has enough power for all your components.
- Box: It should be large enough to accommodate all your components and allow good airflow.
- Cooling systems: Additional fans or liquid cooling if necessary.
Hardware assembly
With all the components and tools ready, it’s time to start assembling the hardware.
CPU and motherboard installation
- Install the CPU on the motherboard:
- Open the CPU socket on the motherboard.
- Align the CPU with the socket (use the notch or guide arrow).
- Carefully place the CPU into the socket and close the retention lever.
- Install the CPU cooler:
- Apply a small amount of thermal paste to the center of the CPU.
- Place the heatsink on the CPU and secure it according to the manufacturer’s instructions.
- Install the motherboard into the case
- Place the motherboard over the case spacers and screw it in.
Mounting RAM and Storage
- Install RAM:
- Open the tabs for the RAM slots on the motherboard.
- Align the RAM with the slot and press it firmly until the tabs close automatically.
- Install storage:
- If you use an NVMe SSD, insert it into the M.2 slot on the motherboard and secure it with a screw.
- For SSDs or HDDs, place them in the bays and connect them to the motherboard and power supply.
Connections and wiring
After installing the main components, it’s time to connect and organize the cables.
Connecting the power supply
- Connect the power supply:
- Connect the 24-pin cable to the motherboard.
- Connect the 8-pin (or 4+4) cable to the CPU.
- Connect power cables to the GPU, storage, and other components as needed.
Wiring organization
- Organize cables:
- Use cable ties to bundle and secure cables.
- Make sure cables do not obstruct airflow.
First start-up
With all the hardware assembled and cables organized, it’s time to turn on your PC for the first time.
BIOS Setup
- Access the BIOS:
- Turn on your PC and press the indicated key (usually Del or F2) to enter the BIOS.
- Make sure all components are recognized and adjust the basic settings according to your needs (boot order, XMP profile for RAM, etc.).
Installing the operating system
- Install the operating system:
- Insert the installation media (USB/DVD) and restart the PC.
- Follow the instructions to install the operating system on your SSD.
Final tests and adjustments
Once the operating system is installed, you need to do some testing and adjustments to make sure everything is working correctly.
Hardware verification
- Check all components:
- Ensure that all components are detected correctly.
- Install the necessary drivers for your hardware (GPU, chipset, etc.).
System optimization
- Optimize performance:
- Adjust power settings for optimal performance.
- Perform benchmarks to ensure that the system is performing as expected.
- Ensure proper temperatures during stress testing.
Conclusion
Building your own PC from scratch can be a rewarding experience that gives you a deeper understanding of how your PC works and allows you to customize your machine to your needs. By following this step-by-step guide, you can ensure that your PC is well built, well organized, and ready to deliver the performance you need. With patience and attention to detail, you can enjoy your new PC and all it has to offer.
Visit our web, where you will find a wide range of options.


